16 articles
Collaborate with your team
Section 3: Give your team the context and support they need to successfully plug into your workflow.
Browse
Give your team the right context
Share the right data with anyone
Capture the right data from everyone
Interface Designer: Your guide to designing an interface
How to implement interface permissions in your workflow
Interface Designer: Simplify collaboration with the record review
Interface Designer: Highlight key details with the record summary
Interface Designer: Report on metrics with a dashboard layout
Interface Designer: When to use it + other collaboration features
Set your team up for success
Get ready for your Airtable launch
Prep your base for onboarding
Introduce your team to Airtable
Invite your collaborators
Manage team collaboration
Set (and hit) your Airtable goals
Implementation guide: Airtable for product operations
Anatomy of a product workflow
Stage 1: Collect and centralize product feedback
Step 1.1: Start tracking product feedback
Step 1.2: Centralize product feedback across sources and teams
Step 1.3: Analyze and take action on product feedback
Stage 2: Set and align on product objectives
Step 2.1: Start planning product objectives
Step 2.2: Manage product objectives across multiple teams
Step 2.3: Report on progress toward product objectives
Stage 3: Prioritize your product roadmap
Step 3.1: Start prioritizing your product roadmap
Step 3.2: Visualize your product roadmap
Step 3.3: Build an organization-wide roadmap
Stage 4: Track ongoing product delivery
Step 4.1: Start managing sprints and product delivery
Step 4.2: Manage resources and ongoing product delivery
Step 4.3: Keep your product org informed and on track
Stage 5: Manage and review product launches
Step 5.1: Start managing product launches
Step 5.2: Drive product launch retrospectives
Step 5.3: Scale launch management across your organization
Stage 6: Measure and improve product operations
Step 6.1: Start measuring and reporting results
Step 6.2: Understand the business impact of your product
Collaborate with your team16
Guide for product operations25
Guides
1 OF 16
1 OF 16
Give your team the right context
Give your team the right entry points to your workflow with these collaboration best practices.
6 MIN READ

More in Collaborate with your team
2 of 16

Share the right data with anyone
Learn how to give specific access to information in your base.
8 MIN READ
3 of 16

Capture the right data from everyone
Create forms to make it easy for anyone to submit data directly into your base.
8 MIN READ
4 of 16

Interface Designer: Your guide to designing an interface
A step-by-step guide to getting up and running on interfaces and sharing them with your team. Get started on Airtable’s Interface Designer today!
8 MIN READ
5 of 16
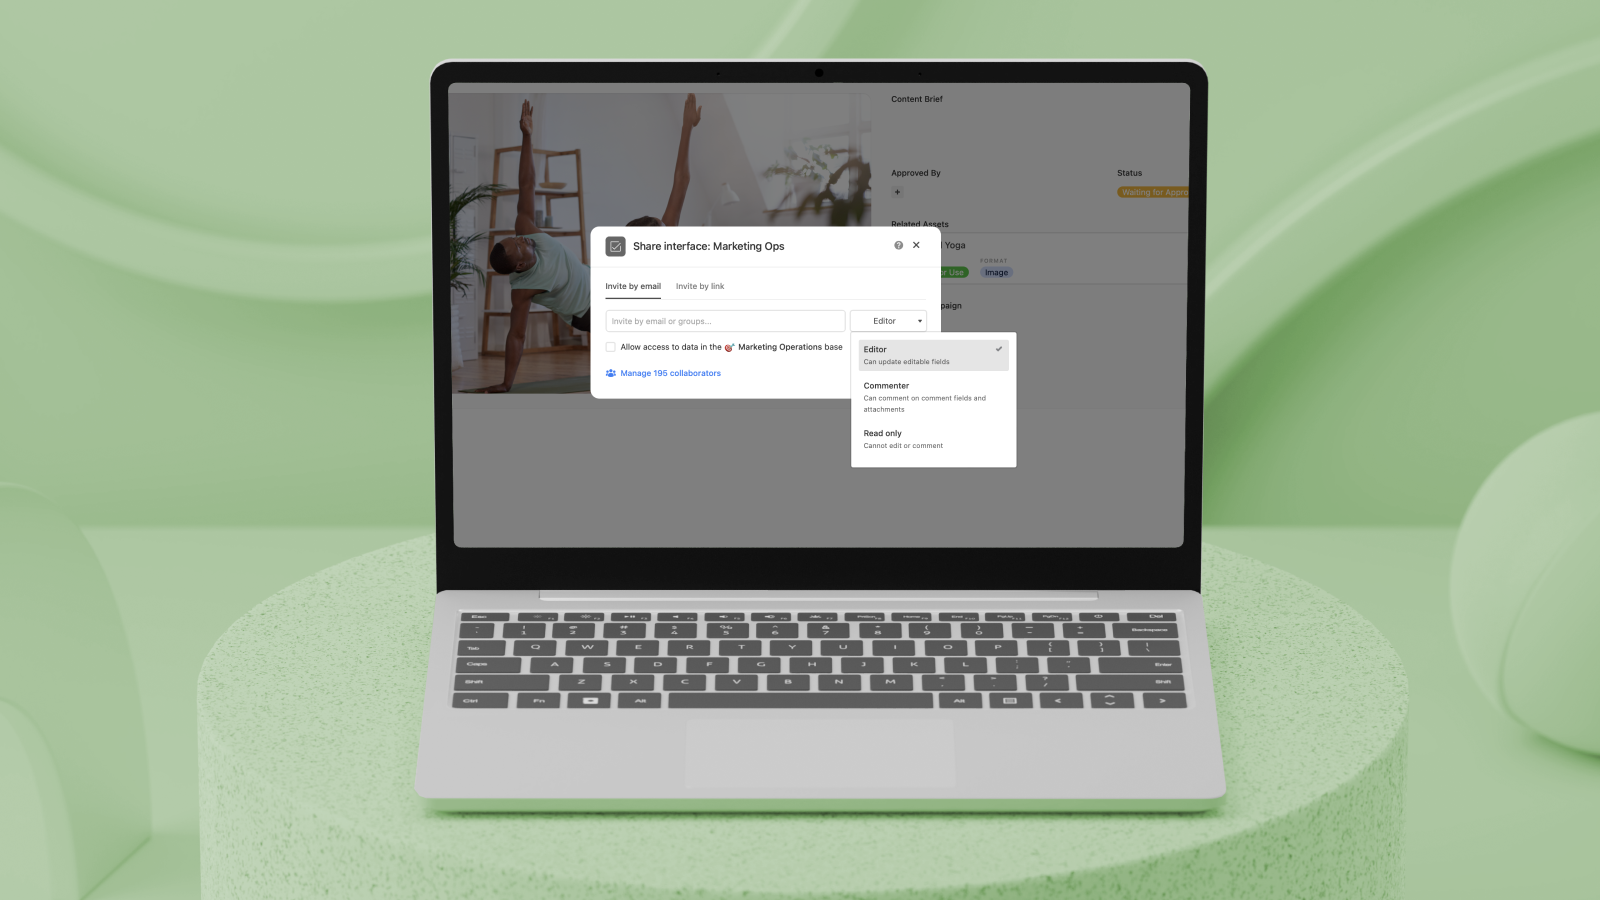
How to implement interface permissions in your workflow
Learn how using granular permissions in Interface Designer can help you build more secure and scalable ways for sharing app access with your collaborators.
15 MIN READ
6 of 16
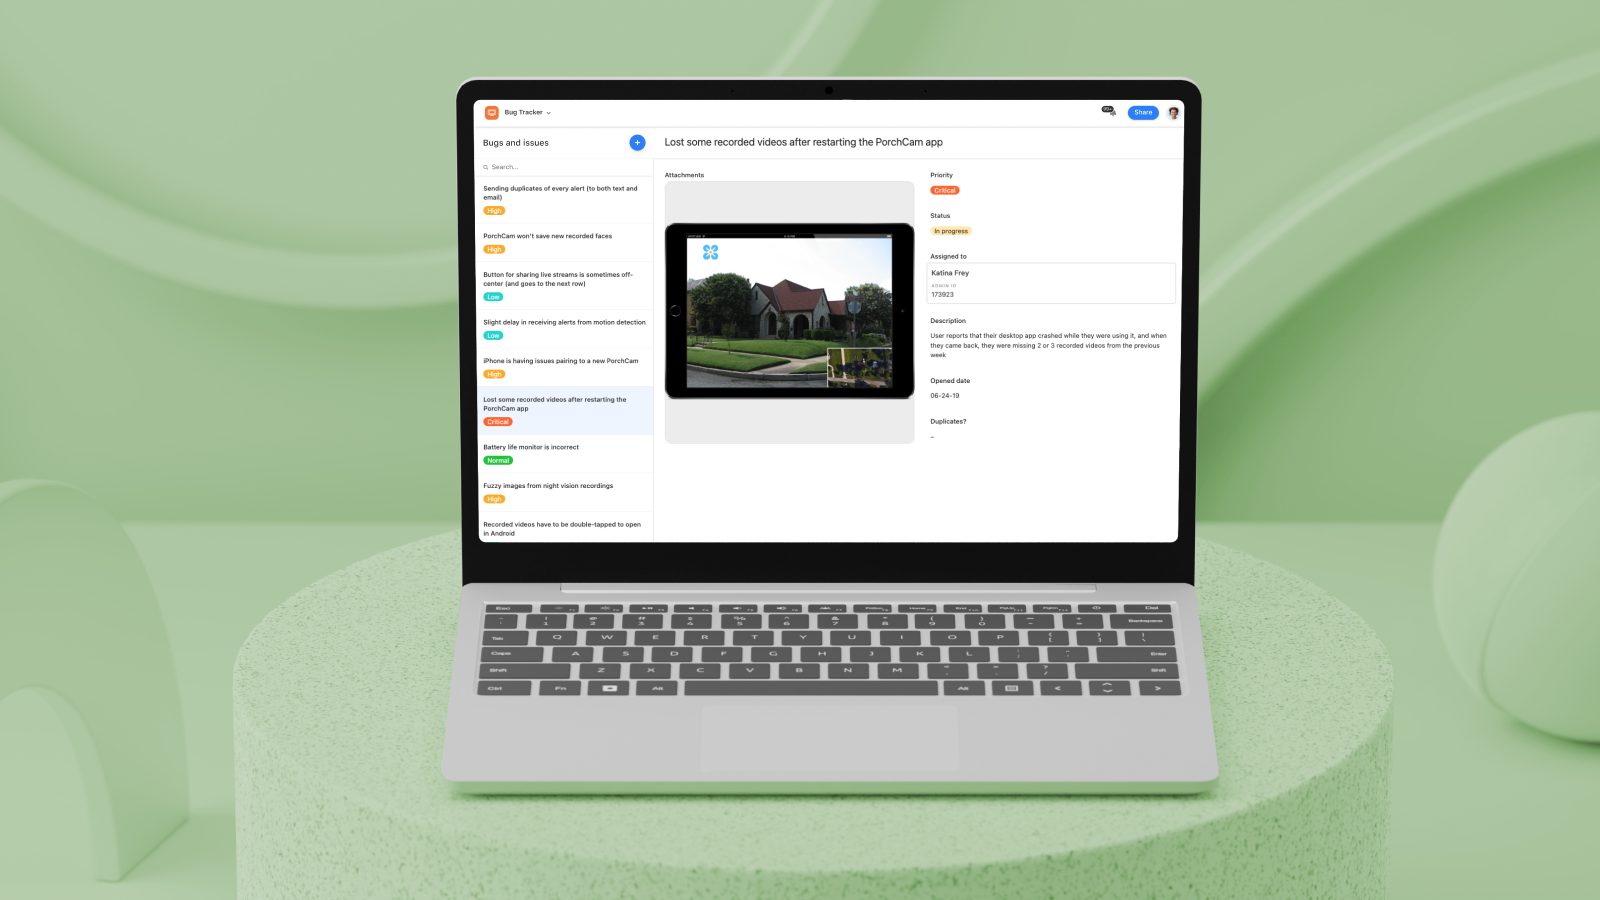
Interface Designer: Simplify collaboration with the record review
A step-by-step guide to using Interface Designer's record review layout. This interface is particularly useful for stakeholders to quickly approve projects, assign priority or ownership, or give feedback on campaign details.
5 MIN READ
7 of 16
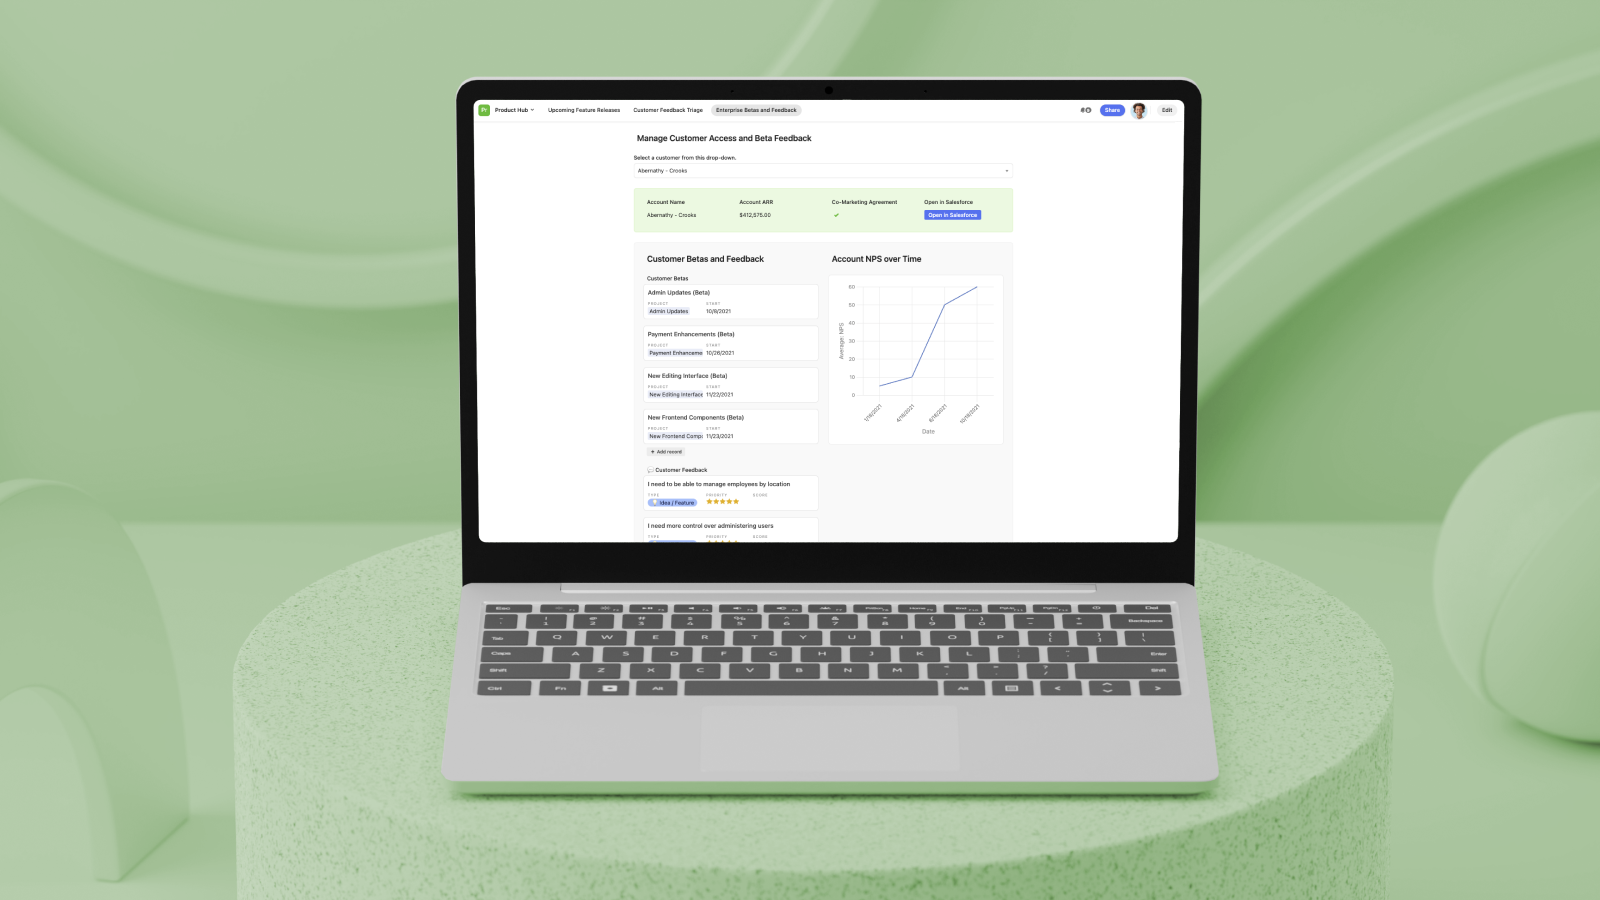
Interface Designer: Highlight key details with the record summary
A step-by-step guide to using one of Interface Designer’s layout options: record summary. This is ideal for those who need to highlight key information connected to a specific record.
5 MIN READ
8 of 16
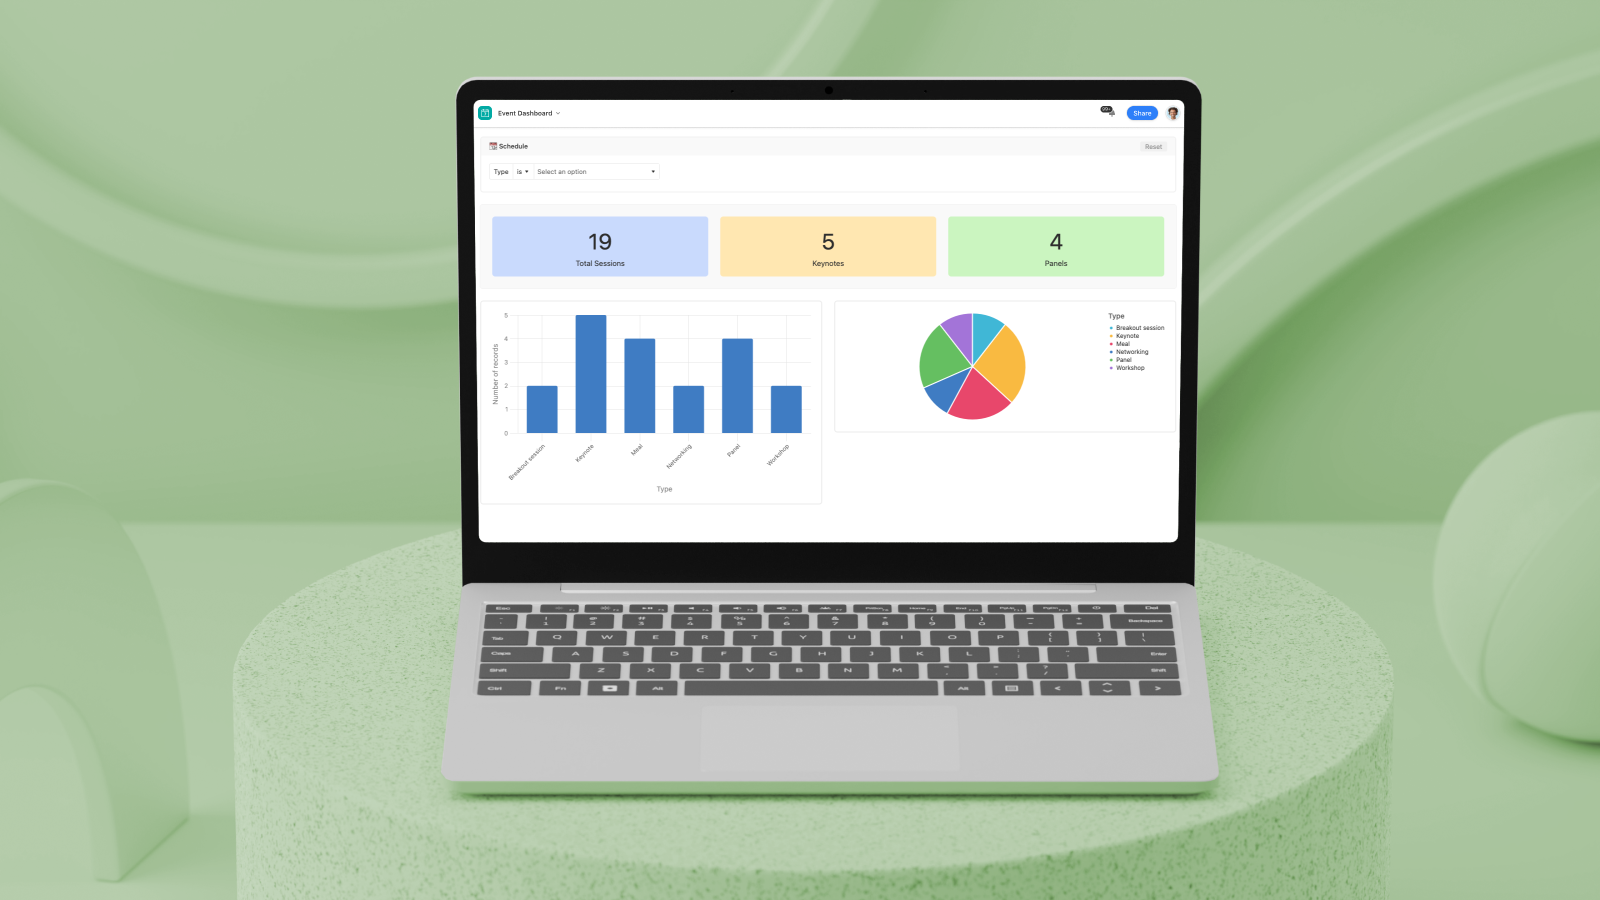
Interface Designer: Report on metrics with a dashboard layout
A step-by-step guide to using one of Interface Designer’s layout options: dashboard, an interface that is designed to aggregate and summarize information, highlight trends, and display distribution in charts and graphs.
5 MIN READ
9 of 16

Interface Designer: When to use it + other collaboration features
Compare Airtable’s Interface Designer with other Airtable collaboration features and learn the best practices for leveraging each in your workflow.
3 MIN READ
10 of 16

Set your team up for success
Bring your team on board to your workflow with six steps for effective collaboration.
7 MIN READ
11 of 16

Get ready for your Airtable launch
Get ready to launch Airtable with these best practices from 200,000+ companies.
5 MIN READ
12 of 16

13 of 16

Introduce your team to Airtable
Help your team get into Airtable and contributing to your workflow quickly.
6 MIN READ
14 of 16

Invite your collaborators
Learn how to invite people into your base —and what level of access to give them.
8 MIN READ
15 of 16

Manage team collaboration
Best practices to keep everything organized and manageable as your team's needs evolve.
4 MIN READ
16 of 16

Set (and hit) your Airtable goals
Best practices for evaluating, optimizing, and expanding your workflows.
5 MIN READ
Browse
Give your team the right context
Share the right data with anyone
Capture the right data from everyone
Interface Designer: Your guide to designing an interface
How to implement interface permissions in your workflow
Interface Designer: Simplify collaboration with the record review
Interface Designer: Highlight key details with the record summary
Interface Designer: Report on metrics with a dashboard layout
Interface Designer: When to use it + other collaboration features
Set your team up for success
Get ready for your Airtable launch
Prep your base for onboarding
Introduce your team to Airtable
Invite your collaborators
Manage team collaboration
Set (and hit) your Airtable goals
Implementation guide: Airtable for product operations
Anatomy of a product workflow
Stage 1: Collect and centralize product feedback
Step 1.1: Start tracking product feedback
Step 1.2: Centralize product feedback across sources and teams
Step 1.3: Analyze and take action on product feedback
Stage 2: Set and align on product objectives
Step 2.1: Start planning product objectives
Step 2.2: Manage product objectives across multiple teams
Step 2.3: Report on progress toward product objectives
Stage 3: Prioritize your product roadmap
Step 3.1: Start prioritizing your product roadmap
Step 3.2: Visualize your product roadmap
Step 3.3: Build an organization-wide roadmap
Stage 4: Track ongoing product delivery
Step 4.1: Start managing sprints and product delivery
Step 4.2: Manage resources and ongoing product delivery
Step 4.3: Keep your product org informed and on track
Stage 5: Manage and review product launches
Step 5.1: Start managing product launches
Step 5.2: Drive product launch retrospectives
Step 5.3: Scale launch management across your organization
Stage 6: Measure and improve product operations
Step 6.1: Start measuring and reporting results
Step 6.2: Understand the business impact of your product

